How to make a TV-style explainer video with one AI prompt
You can turn a plain camera recording into a TV-style explainer, with a chapter progress bar, huge number callouts, and the camera sliding between cards and split layouts, by giving PandaStudio's AI agent one detailed prompt. The full prompt is below, followed by screenshots from a real project we ran it on and the few things we learned getting it right.
Where this came from
This one started from a question in a Facebook group. Someone shared a polished education segment: a presenter on camera, a chapter bar across the top with a running timer, a giant year appearing on screen, and the camera shrinking into a framed card while a title panel took over. The first question underneath was whether PandaStudio could do it, and what you would actually type.
What you need
- PandaStudio on your Mac or PC.
- A single camera recording of you talking, in 16:9. Record it in PandaStudio or import an existing video.
- The built-in AI agent (Edit with AI), or an agent like Claude or Codex connected under Settings, then Automation. See how to connect your AI agent.
The prompt
Open your project, paste this into the agent, and replace everything in square brackets with your own series name, episode title, chapter names, and key numbers.
Edit my current project into a polished explainer video, in the style of a premium TV education segment. It's a single camera recording of me talking, 16:9.

1. Clean up first
- Transcribe, fix any misheard names or terms, remove filler words, cut any bad or repeated takes (keep the last, cleanest one), and remove long silences.

2. Background
- Replace my real background with a softly blurred night city skyline, so I stand out like in a studio shot.

3. Persistent header (whole video)
- Top left: small teal series label "[Series Name]" with the episode title "[Episode Title]" under it in white.
- Top center/right: a chapter progress bar with 4 segments, "[01 Chapter]", "[02 Chapter]", "[03 Chapter]", "[04 Chapter]". Highlight the current chapter in teal and fill it as the chapter plays, based on where each topic starts in my transcript.
- Top right corner: an elapsed / total timer, like 00:08 / 02:03.
- Build this as a transparent overlay that stays on for the whole video, and give it gentle continuous motion (a soft light sweep, a pulsing dot on the current chapter) so it never looks frozen.

4. Camera layouts (move the camera, don't just cut). Vary between these:
- Full frame: me filling the screen, for the opening and personal moments.
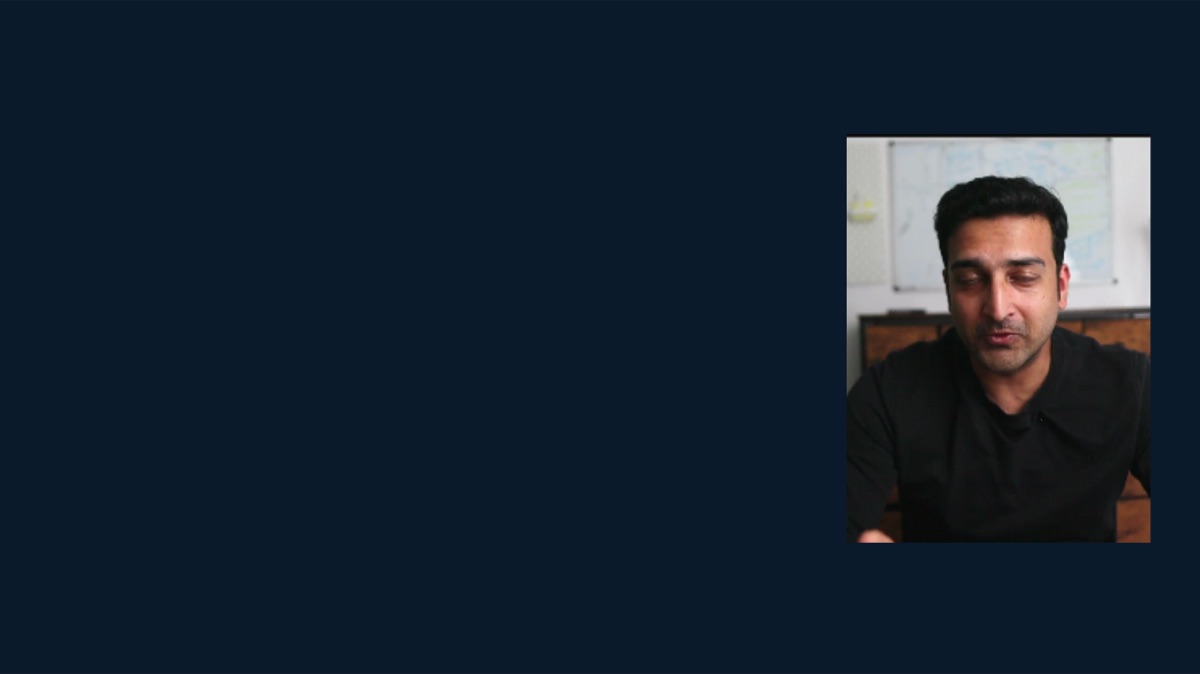
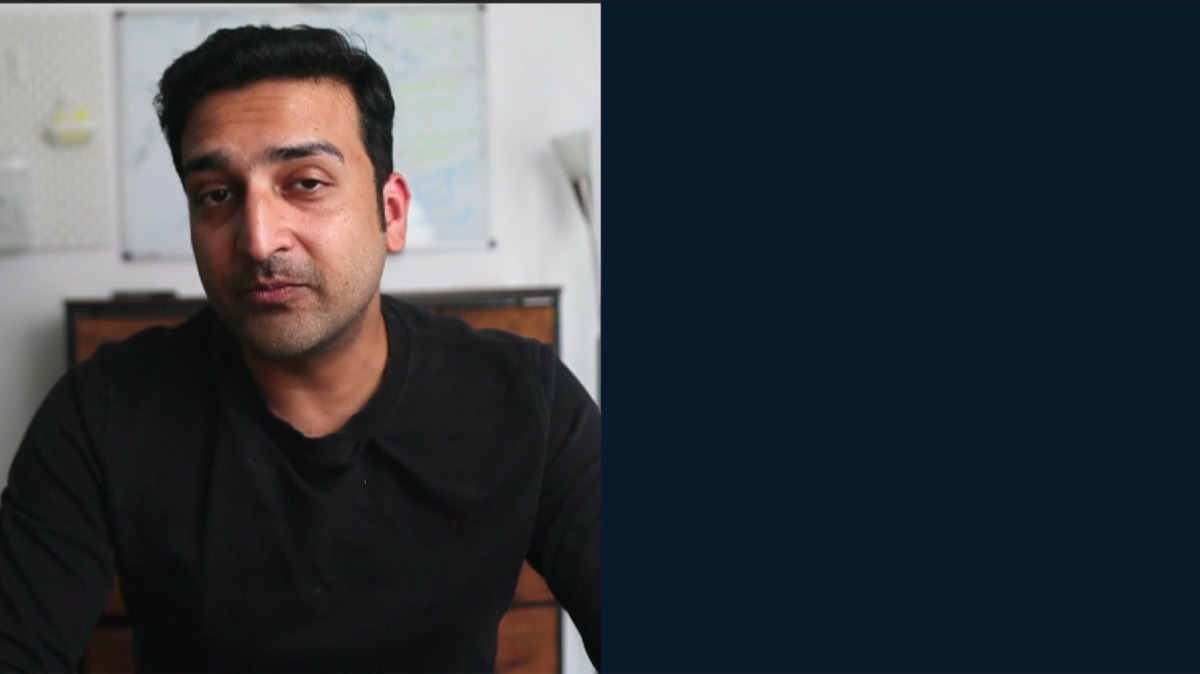
- Right card: shrink me into a small card on the right while a big graphic fills the rest. Use this for big number callouts.
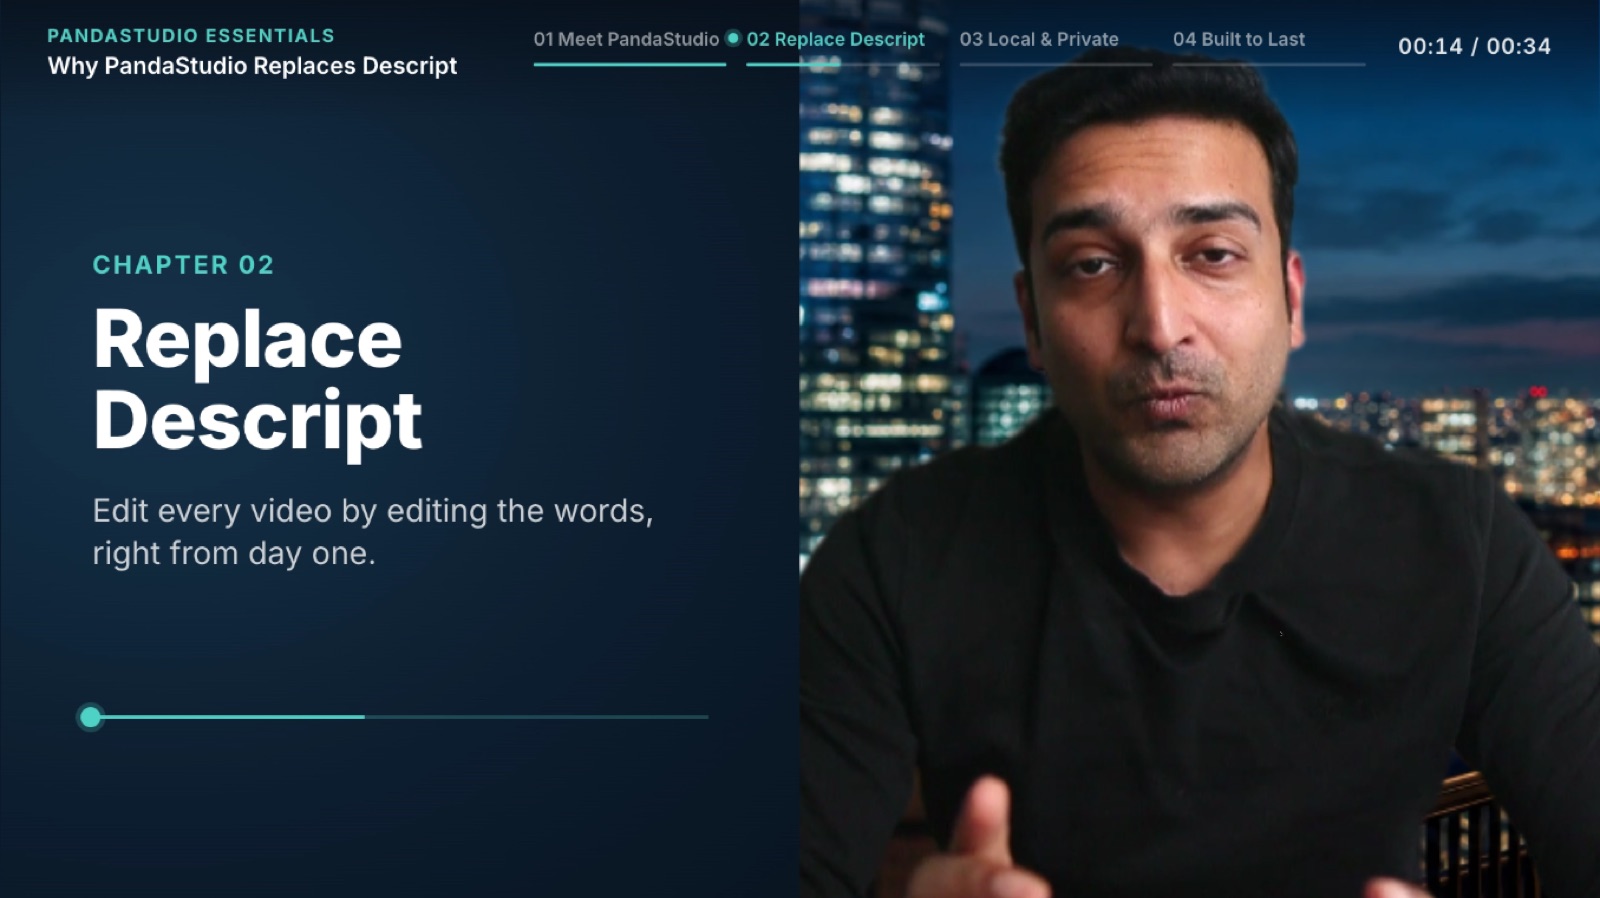
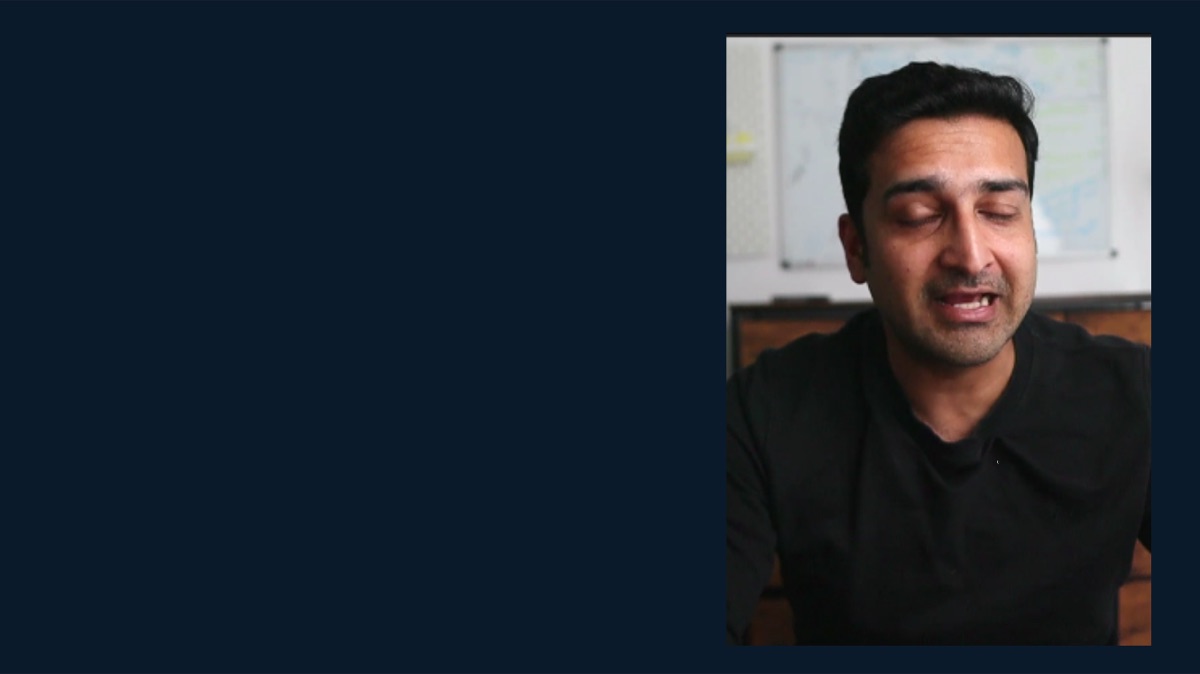
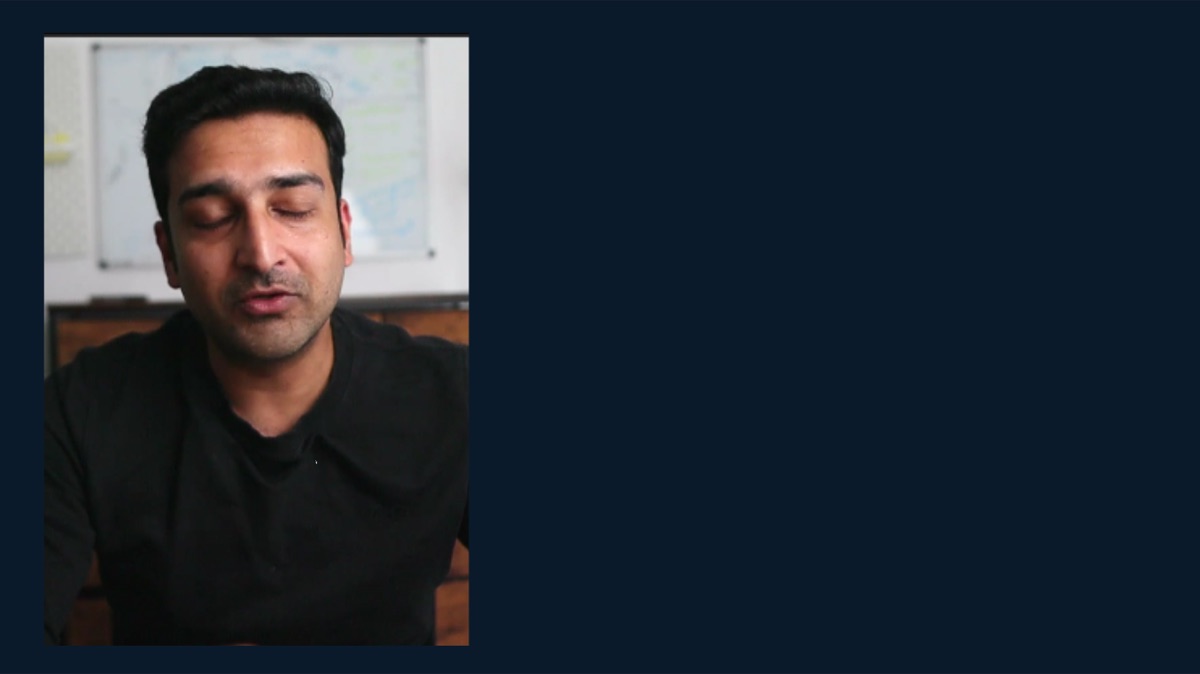
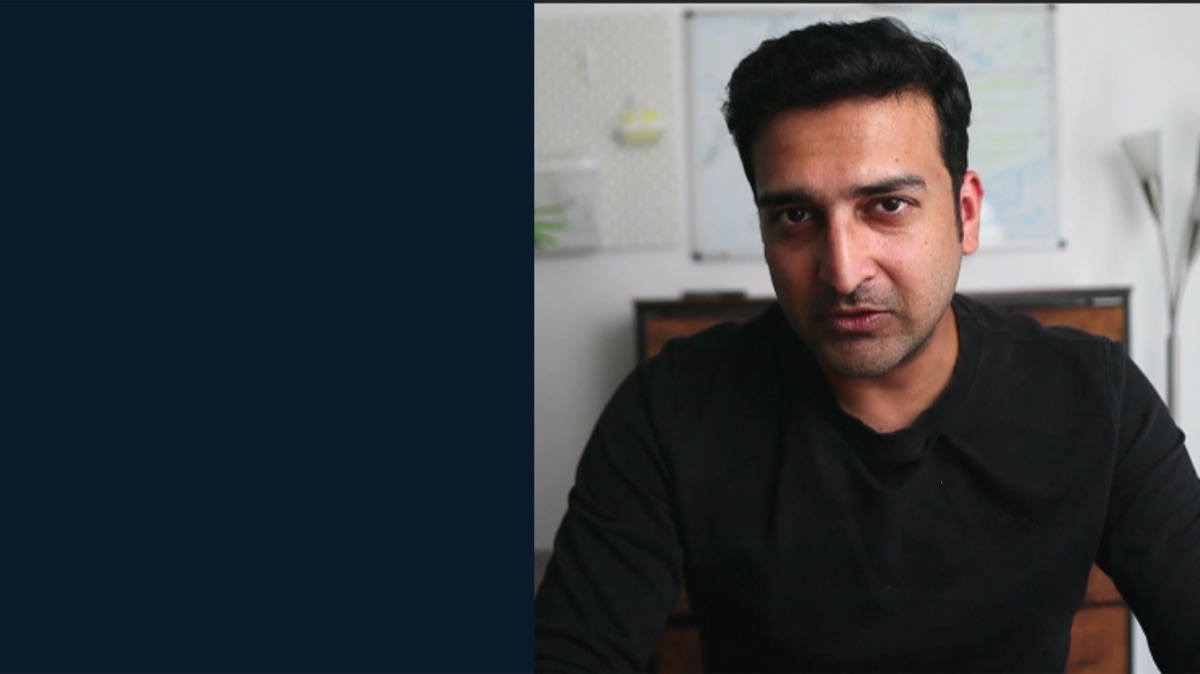
- Side-by-side split: me on the right, a dark navy panel on the left with the chapter title in large white text and one key line under it. Use this at the start of chapters.
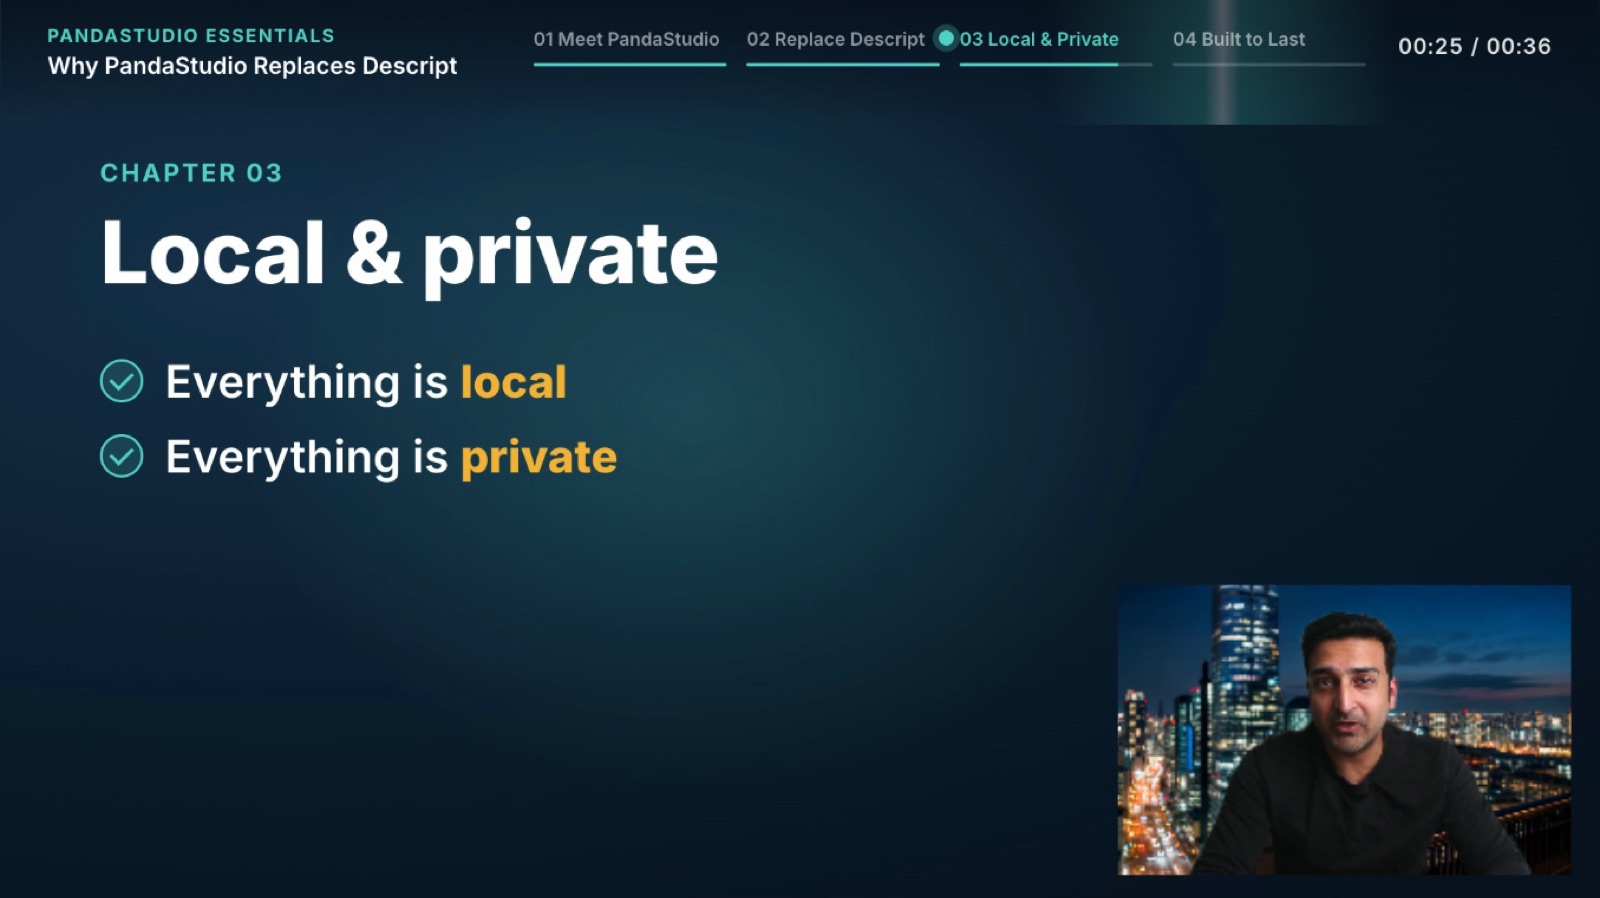
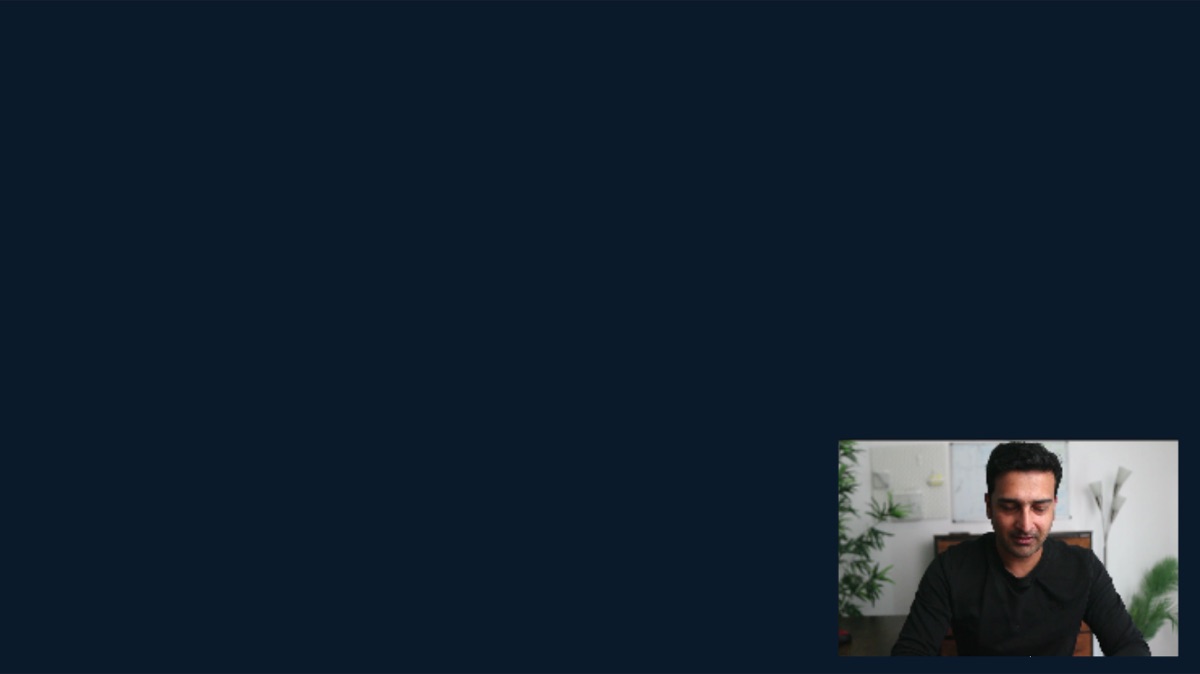
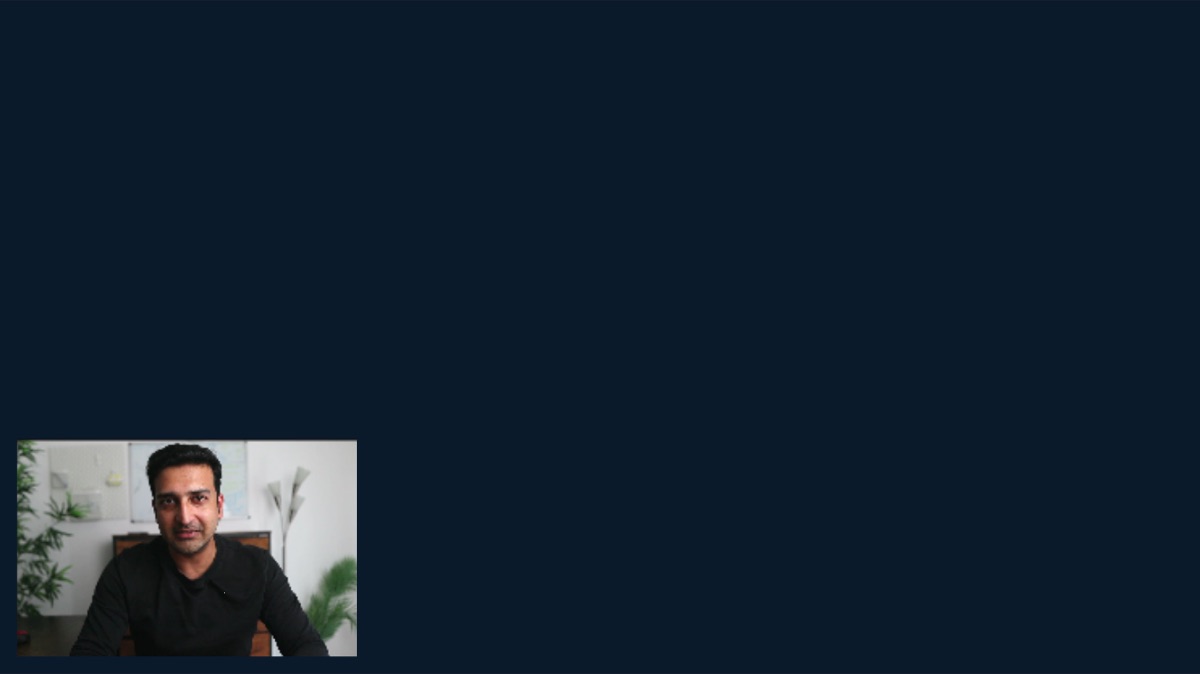
- Bottom-right corner card: shrink me into a small corner card while a full-screen graphic takes over, for example a checklist of points I'm making, with each point appearing as I say it.
- Change layout every 5 to 15 seconds and never use the same layout twice in a row. Never add a zoom while I'm in a card or split.

5. Big number callouts
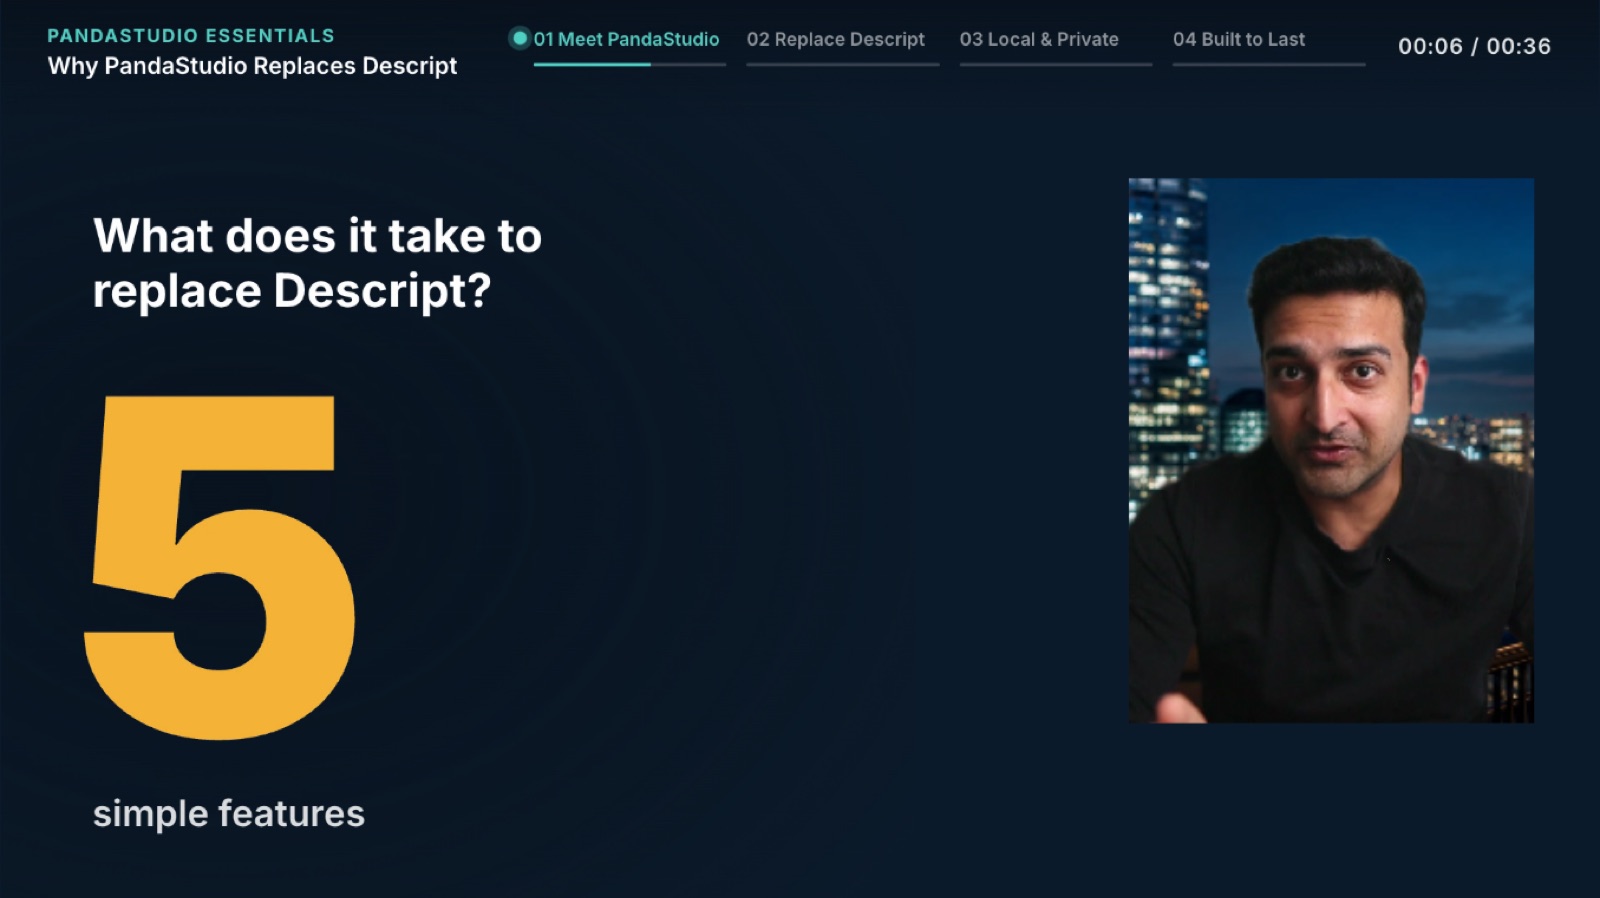
- Whenever I say a key number or figure (for example "[5 simple features]"), put me in the right card and show the number huge in accent yellow on the left, with a short question or label in white above it.

6. Style
- Dark navy and teal palette, accent yellow #F5B335 for numbers and key words, teal #4FD1C5 for highlights, clean modern sans-serif. Keep motion calm and professional, with no playful bounces. No burned-in captions.

7. Before exporting
- Preview a frame at every layout change to check nothing overlaps (the header stays on top, text stays clear of my camera card). Then export 1080p, 16:9.
Or show it a reference image
If you've seen a style you like, take a screenshot of it and attach it in the Edit with AI panel: click the paperclip, paste it with ⌘V, or drag the file in. You can attach several images in one message. Then describe what you want, for example:
Make my video look like this reference: same layout, a header with a chapter bar and timer, big number callouts, and camera cards. Use my own chapters and numbers.- Pick a model that can see images. In the model picker, choose one marked "sees images". A text-only model never receives the screenshot.
- Pair it with the written prompt. A screenshot shows the look, but not the timing or what goes where, and the agent rebuilds the style with PandaStudio's layouts and graphics rather than copying it pixel for pixel. Attaching the image and pasting the prompt above gives the best result.
What it produced
We ran the prompt on a 37-second recording of me explaining why PandaStudio can replace Descript. Here is the exported video.
The finished export, straight out of PandaStudio.
And here are frames from that project in the editor, so you can see each move up close.
The camera layouts you can use
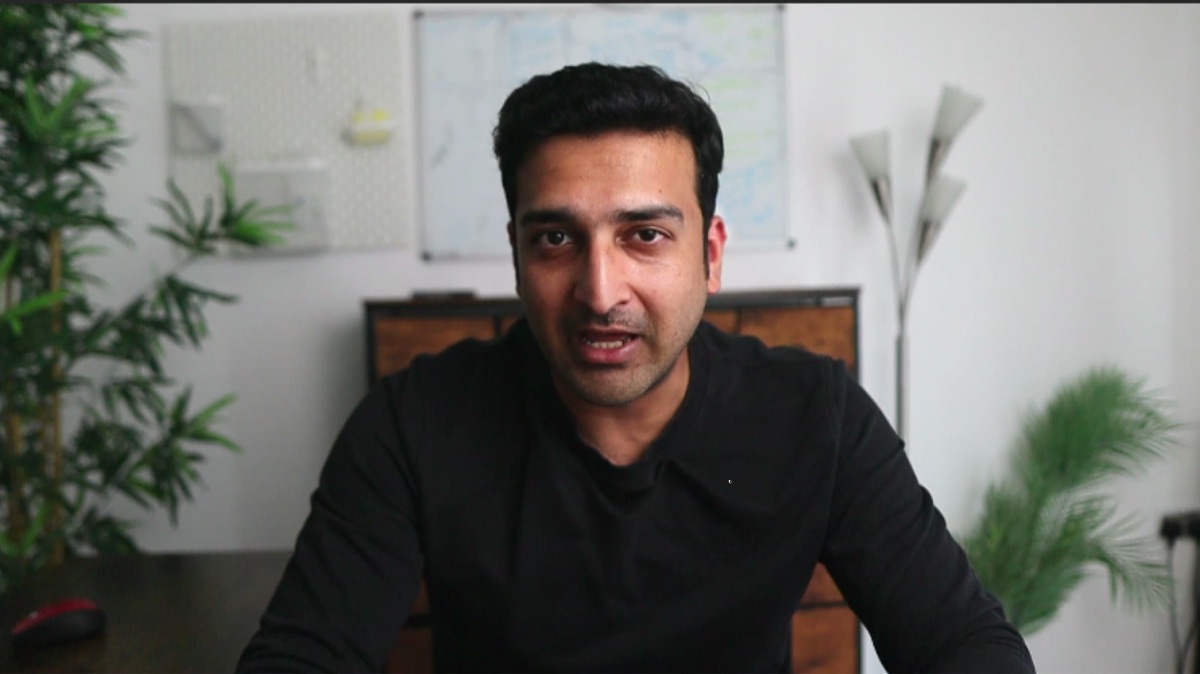
These are the 16:9 camera layouts available in PandaStudio, each shown on the same recording with nothing else added. Ask for them by name in your prompt, or apply them yourself from the timeline. The camera animates smoothly into and out of each one. Vertical 9:16 videos have their own top and bottom split layouts for Shorts.
What we learned getting it right
- Name the layouts you want. Our first version only asked for full frame and a split, and the result felt static. Asking for the right card and the corner card by name is what made it look produced.
- Ask for motion in the header. A header that only has a thin progress bar and a ticking timer can be rejected as a frozen clip. Asking for a soft light sweep and a pulsing chapter dot fixes it.
- Clean up before adding graphics. Removing bad takes and silences shifts the timeline, so the prompt does cleanup first and places graphics afterwards.
- Try one chapter first. On a long video, have the agent style only the first chapter, adjust the look, then ask it to apply the same style to the rest.
- The background may lag in preview. The editor shows your original background until it has prepared the replacement for each moment, so give it a few seconds, or check the exported video.
Try it on your own recording
PandaStudio runs locally on your Mac or PC. Record yourself once, paste the prompt, and let the agent build the chapters, callouts, and layouts.