Browse all docs
Add a camera filter and touch up your skin
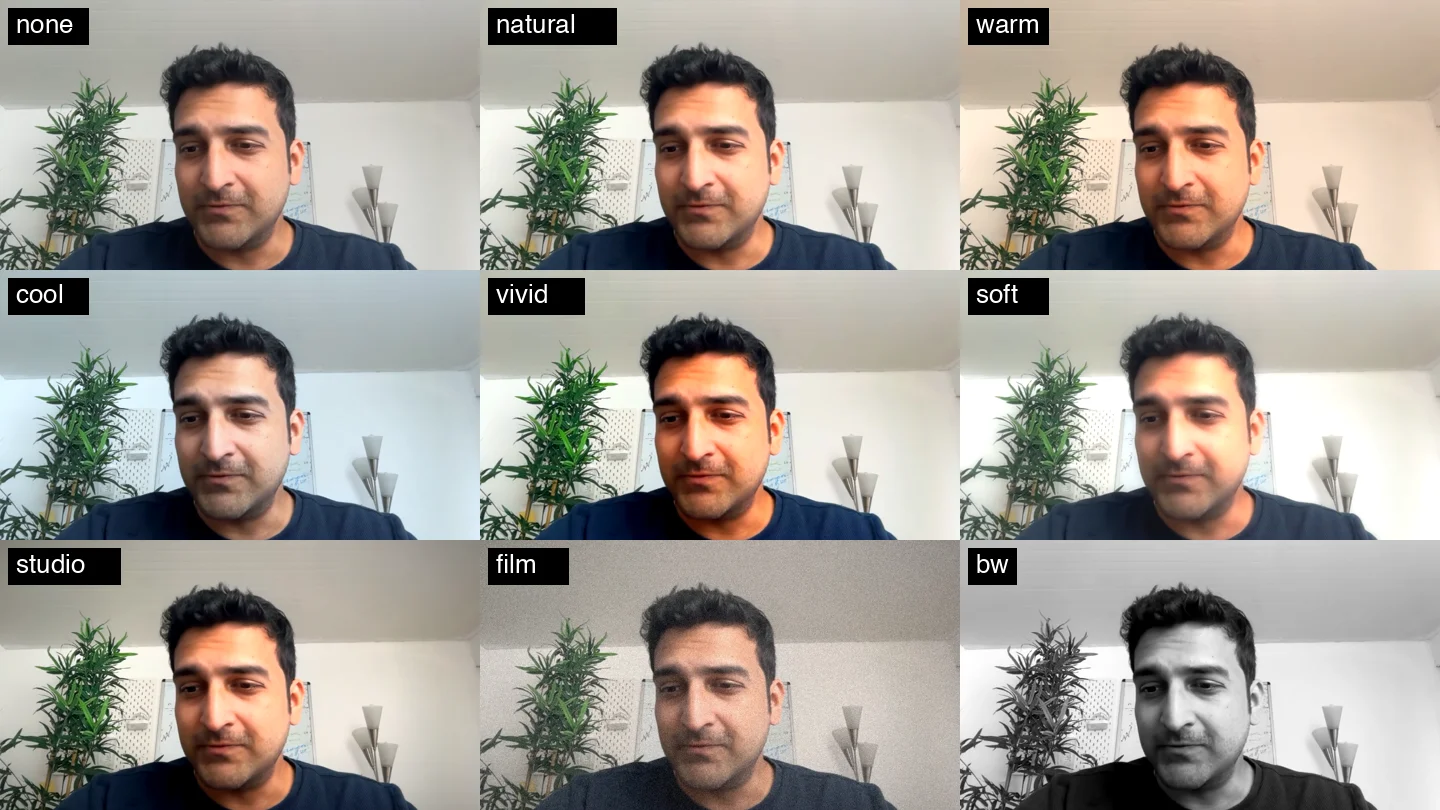
PandaStudio camera filters are one-tap looks for the person on camera, like the filters in meeting apps, with a strength slider and Touch up skin smoothing. You see them live while you record, your podcast guests and live viewers see them too, and you can change or remove them after.
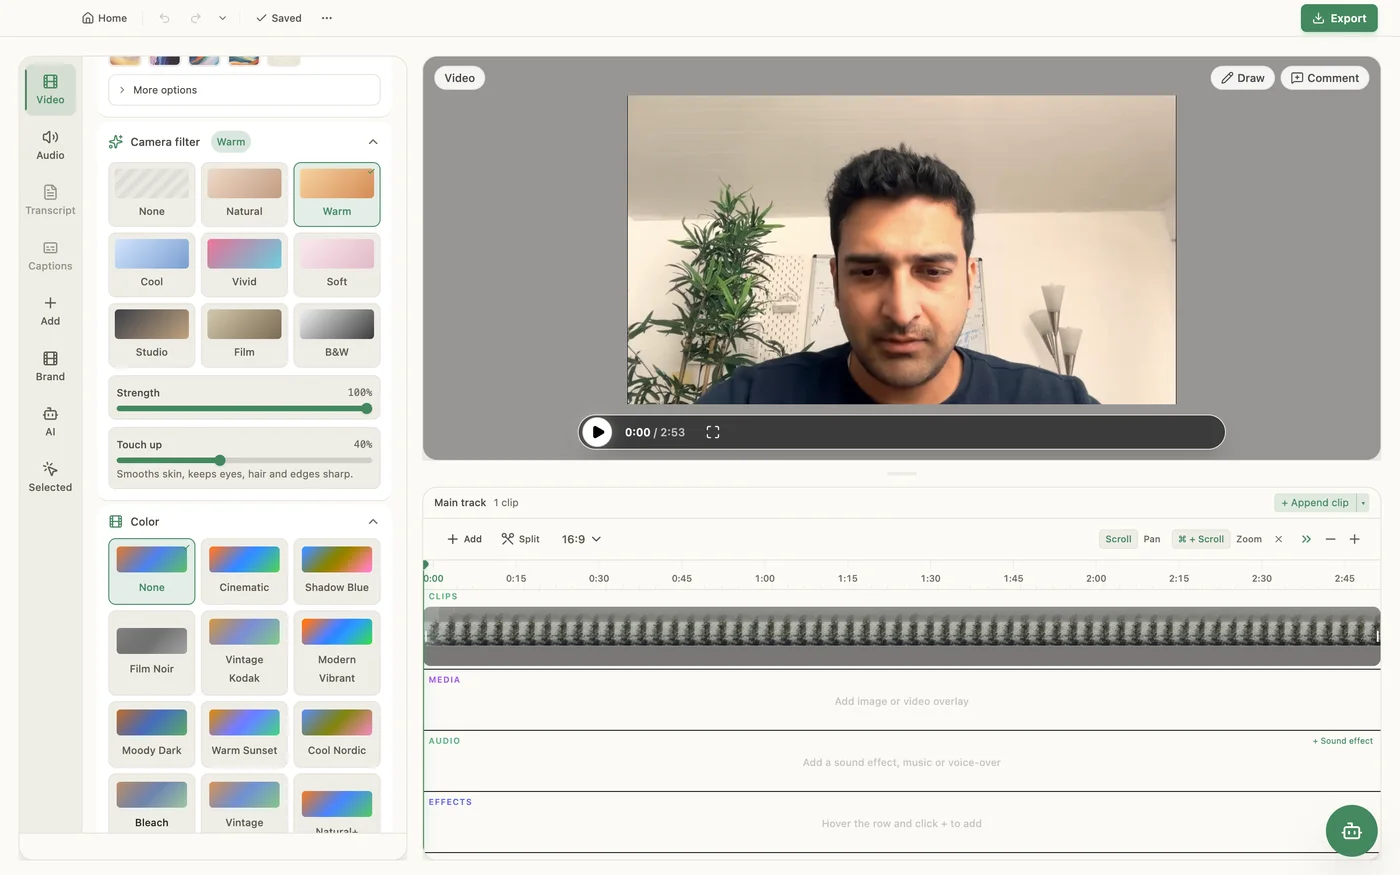
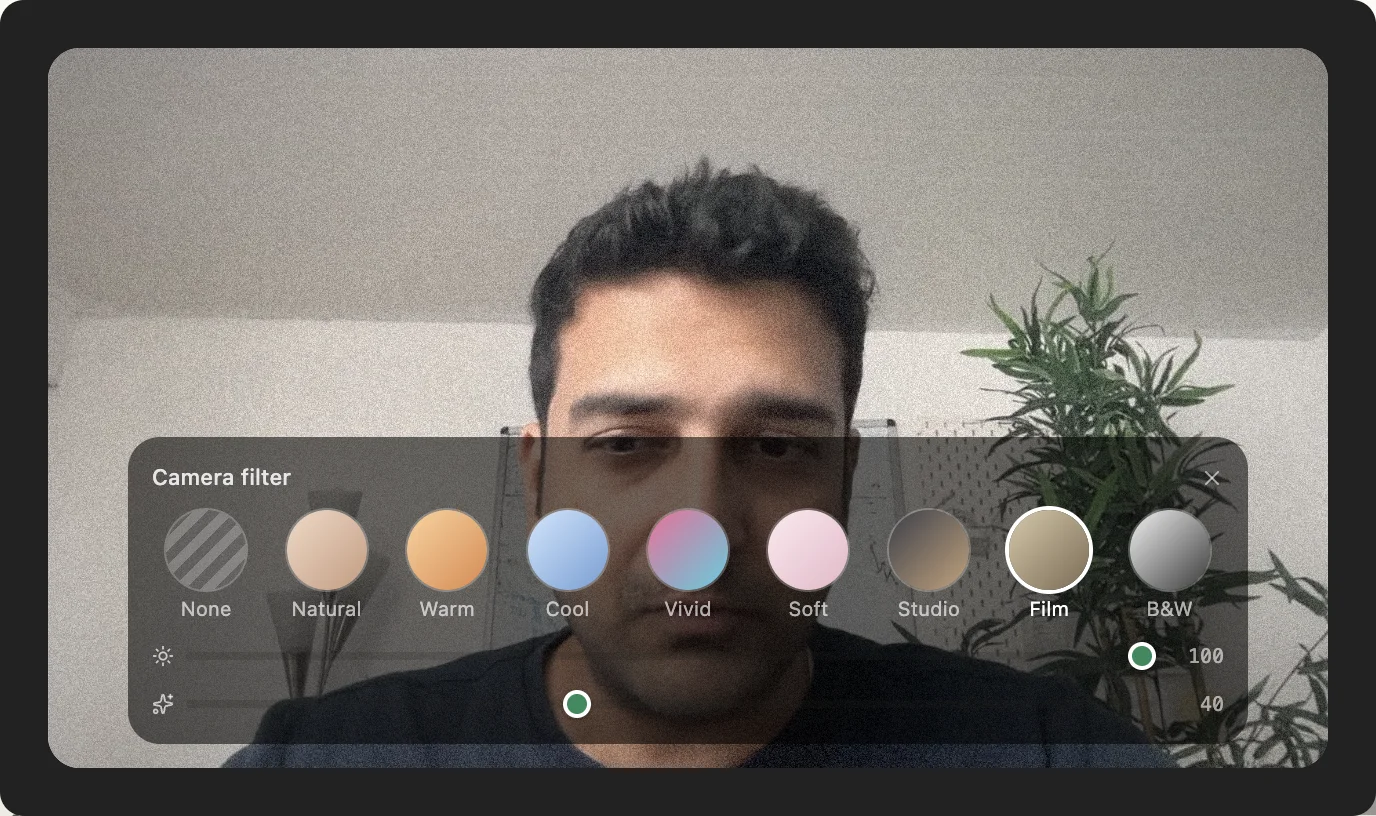
In PandaStudio 2.1.67 and later, pick a look for your camera: Natural, Warm, Cool, Vivid, Soft, Studio, Film or B&W. Strength sets how much of the look you get, and Touch up smooths skin while keeping your eyes, brows, hair and edges sharp; it works with any look, or on its own. The filter goes on the person only: the camera bubble of a screen recording (the screen stays as it was), a camera-only recording or imported camera footage, and every person in a podcast. Before you record, pick a look in the camera menu on the recording bar (Filter and Touch up, next to the camera picker) or click the wand on the camera preview to try looks on yourself live. In PandaStudio 2.1.68 and later the same look works in podcasts: as the host, open Microphone, camera and speaker on your People card and pick a look; your guests and the live stream see it, and it is the same setting as the recorder's, so your look follows you. Guests pick their own look on the guest page (Devices, Camera filter), and their browser remembers it for the next show. Everyone's recording stays exactly as filmed; each person's look comes into the episode with the take, and in the editor you can change it per person. The recording itself is never changed: the new clip starts with your filter, and in the editor you can change it, switch it off, or use it on every clip. The filter is drawn by the same engine in the recorder, the editor preview and the export, so what you see is what you get. It goes on after the Color section's correction and look, so fix flat or grey footage there first.
In the app
- 1Before recording: open the camera menu on the recording bar and pick a look under Filter, and click the sparkle button for Touch up. Or click the wand on the camera preview to see every look with Strength and Touch up sliders. The preview shows it live on you.
- 2In a podcast (host): click Microphone, camera and speaker on your People card and pick a look under Camera filter. Guests and the live stream see it right away.
- 3In a podcast (guest): open Devices on the guest page and pick a look under Camera filter.
- 4Record as usual. The new project's clip already has the filter.
- 5In the editor, open the Video tab and the Camera filter section. Click a look, None to remove it, and drag Strength and Touch up. On a podcast clip, choose the person first (or Everyone).
- 6With more than one clip, click Use on every clip to give them all the same filter.
Ask the AI
Open the AI chat in the editor and say any of these. The agent does the edits for you.
CLI & MCP
Every capability is a verb, reachable from the terminal or from an MCP agent (Claude Code, Cursor, Cline, Continue, Claude Desktop).
pandastudio asset.list-camera-filters
The looks with a description of each.
pandastudio project.set-camera-filter --id=$ID --look=soft --intensity=0.7 --smooth=0.4
PandaStudio 2.1.67 and later. No clipId = every clip with a person on camera. --look=none keeps only Touch up; --reset=true removes the filter.
pandastudio recording.set-camera-filter --look=warm --smooth=0.3
The filter shown live in the recorder and on the podcast host's camera; the next recording or take starts with it.
pandastudio project.set-camera-filter --id=$ID --participant=guest-2 --look=soft
PandaStudio 2.1.68 and later: one person on a podcast clip (speaker id, index or name).